Project 1
Table of Contents
1. the main ideas
- there's a lot of different ways to explain Ohm's Law (V = IR). Here's a water analog:
- let I (current) be the water speed as it flows through a river.
- let R (resistance) be the rocks that "resist" against the water.
- let V (voltage) be the water pump that propels the water forward.
- if you increase the water pump's pressure, the water speed increases. (if V increases, I increases.)
- if you increase the number of rocks in the river, the water speed decreases. (if R increases, I decreases.)
- think of the electric circuit like a closed loop. you should always start at the positive terminal of the battery and end at the negative terminal (which corresponds with the schematic). All of the remaining components go in between.
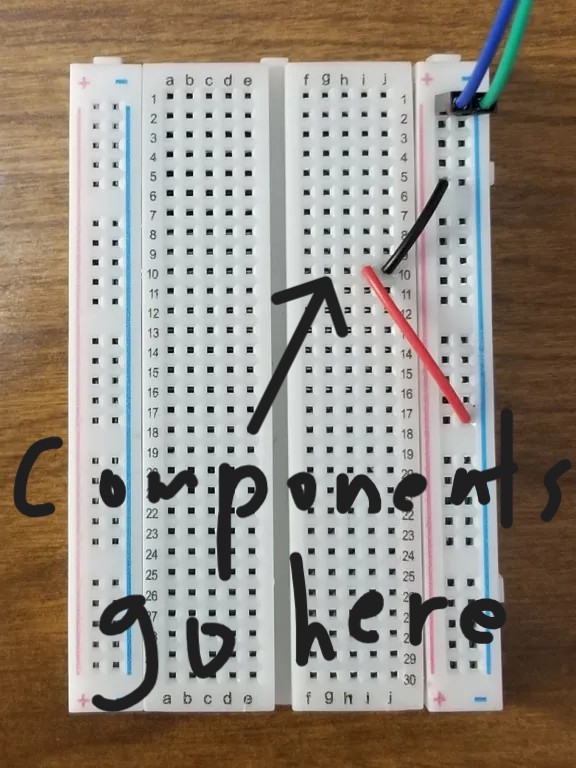
- connecting two components together = putting their legs in the same numbered row on a breadboard.
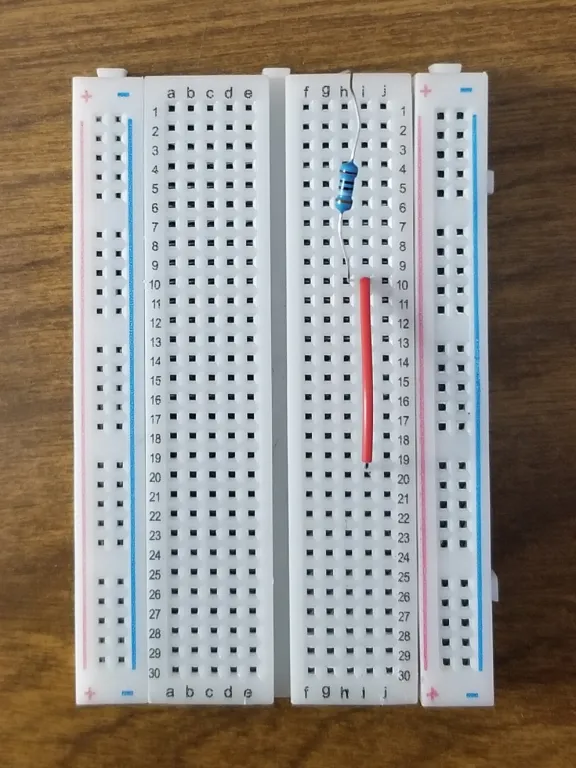
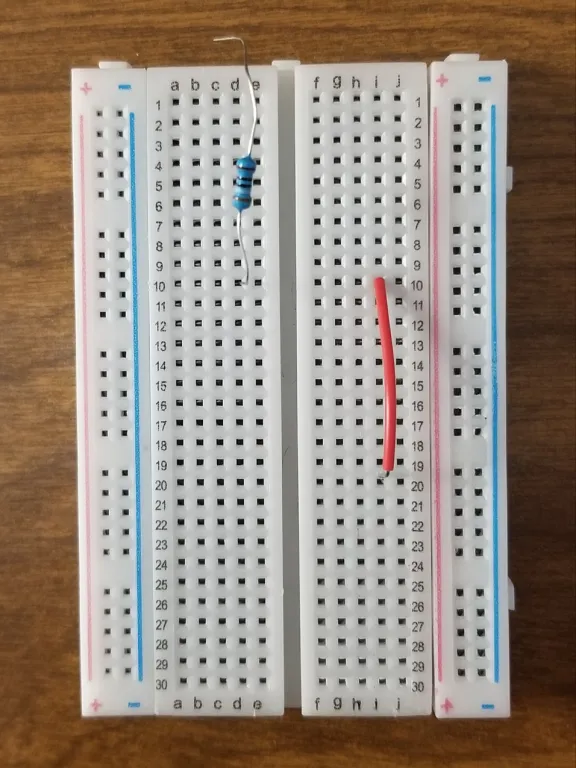
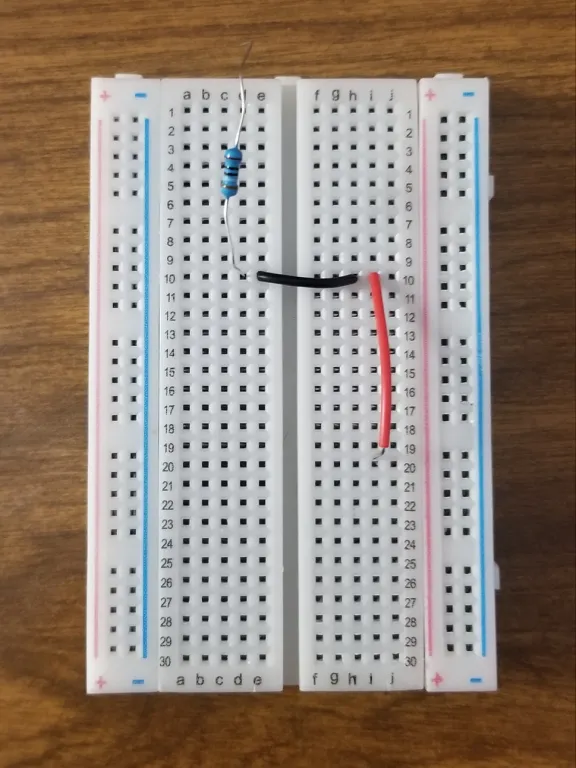
left photo: the resistor and wire are both connected to row 10.
middle photo: the resistor and wire are disconnected because the rows are separated by the middle channel.
right photo: the resistor and wire are connected by another wire connecting the two rows. this is useful when a lot of components
need to be connected to one node.
2. questions to think about as you’re breadboarding
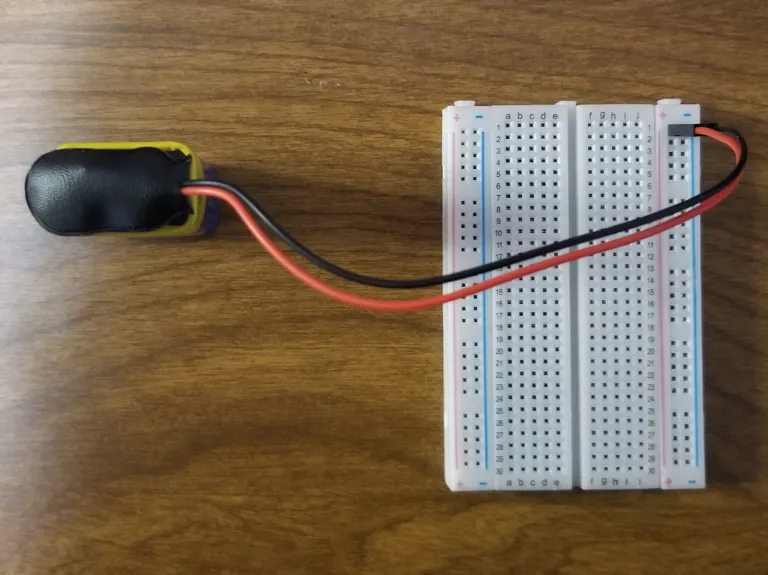
- for the battery, which color wire should be placed in the power rail? how about the ground rail?
- on the LED, which lead corresponds with the positive terminal (anode)? how about the negative terminal (cathode)?
- extra: does it matter what order the LED and resistor are in the circuit? why or why not?
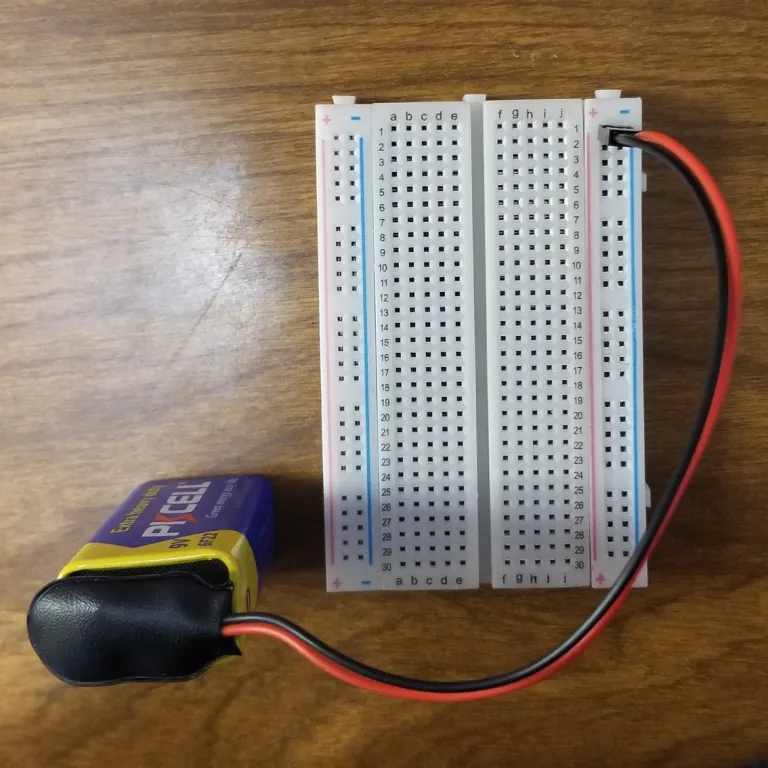
left photo: battery with black wire in the positive terminal.
right photo: battery with red wire in the positive terminal.
which one is correct: the left or the right photo?
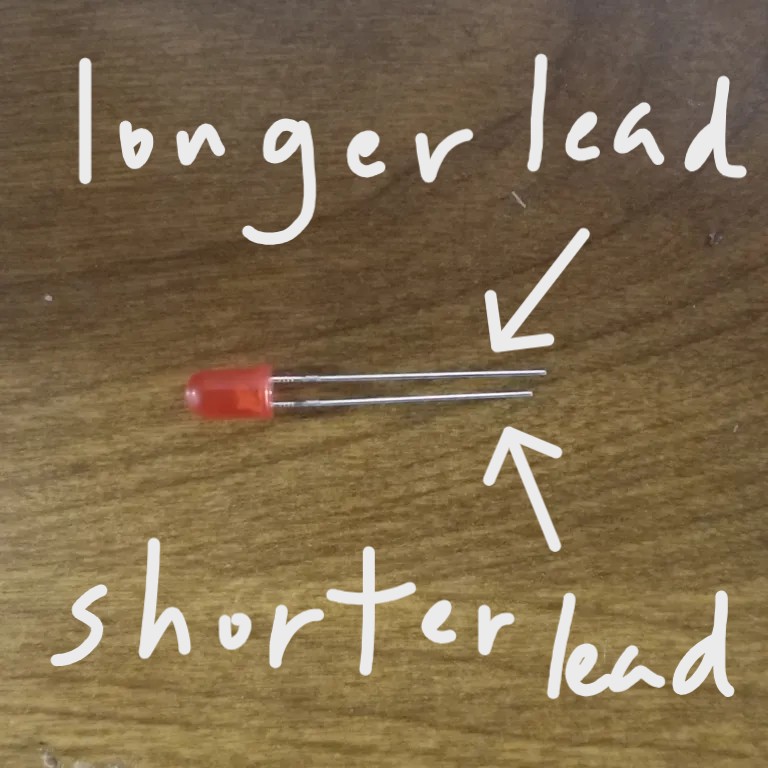
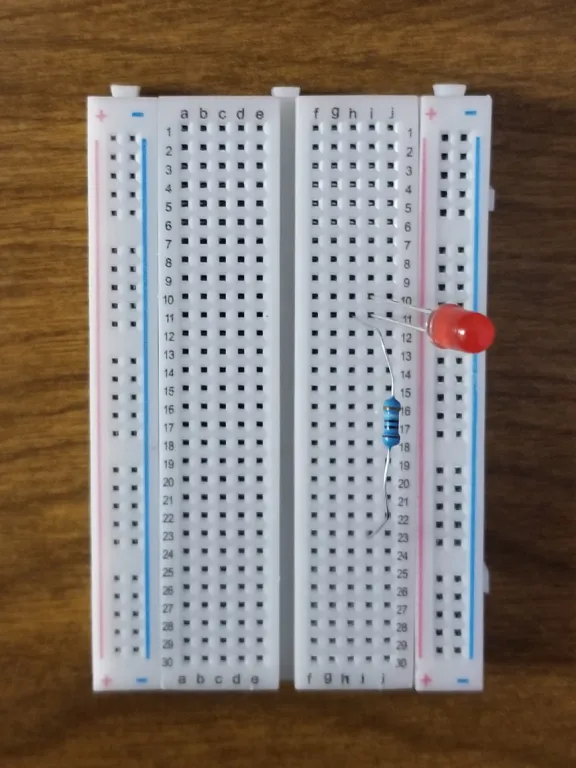
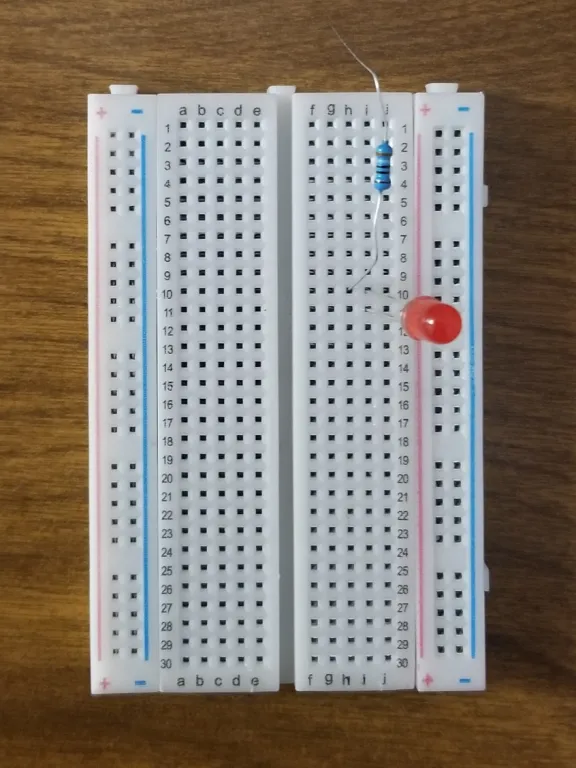
left photo: LED followed by resistor.
right photo: resistor followed by LED.
3. soldering
- don’t melt the solder onto the iron tip. instead, place the tip between the component leg and copper pad. wait for a few seconds so the pad heats up. touch the solder to the pad rather than the tip, naturally filling the hole with solder.
- place soldering iron back on the stand when not in use.